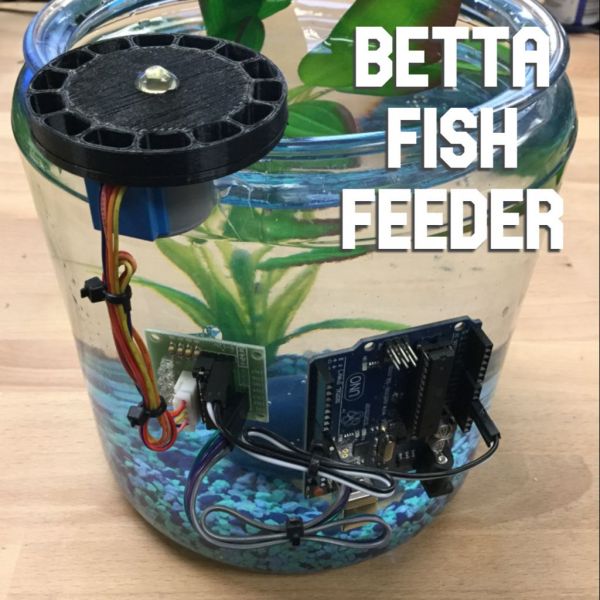
3D打印的自动喂鱼机 的教程
材料清单
Arduino UNO×1
Arduino 电源×1
电机驱动板×1
步进电机 28BYJ-48 ×1
3D打印部件×1
热熔胶×1
鱼缸×1
鱼食料×1
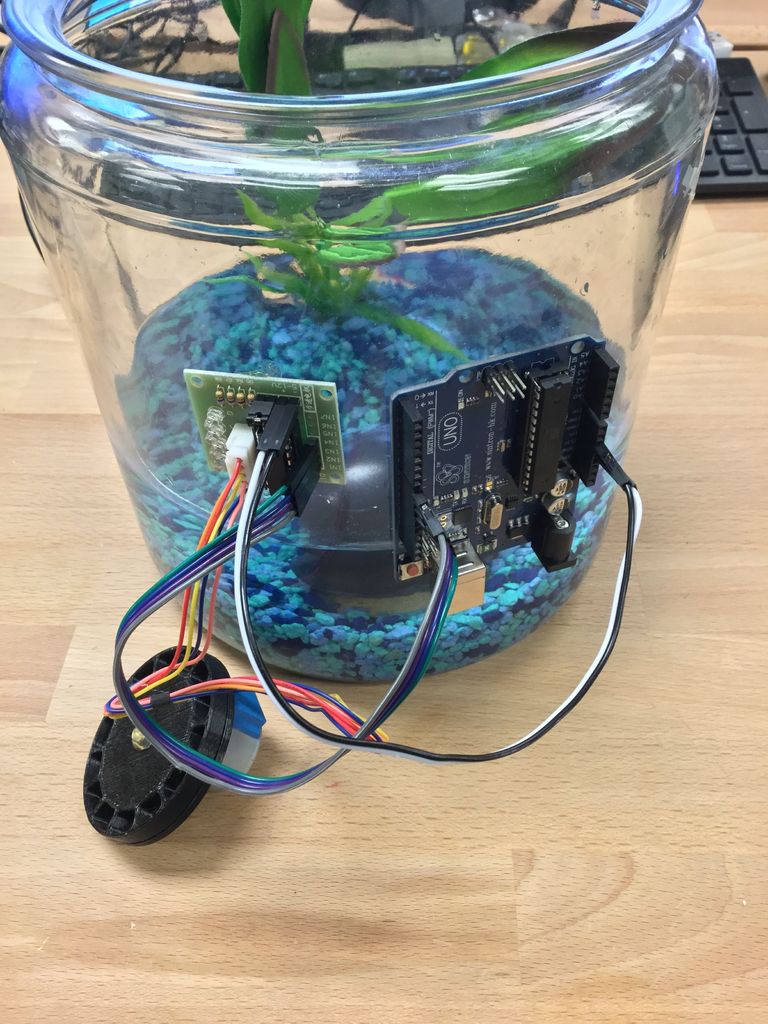
连接电机驱动板和步进电机
安装电机驱动板,让 Arduino 驱动步进电机。因为 Arduino 的输出引脚无法直接为步进电机提供足够的功率,而电机的电源工作要求为 5V,所以需要驱动板。
1、将步进电机与电机驱动板连接起来。
2、将 Arduino 的引脚 8、9、10 和 11 分别连接到电机驱动板输入引脚1N1、1N2、1N3 和 1N4 上。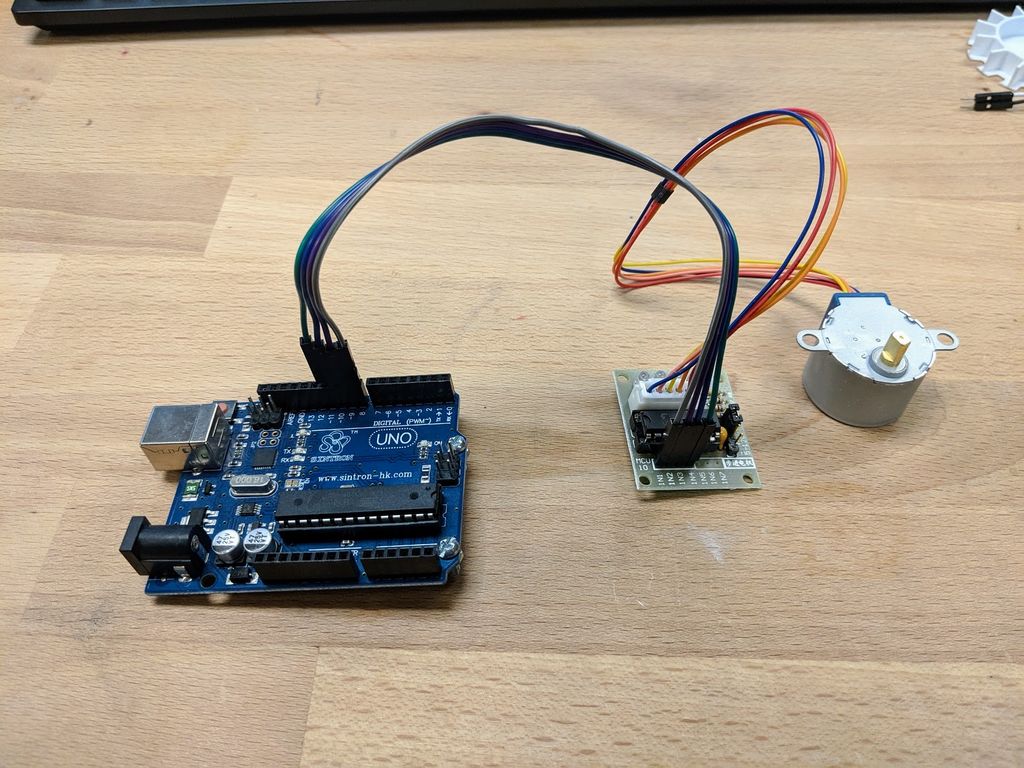
3、将 Arduino 电源引脚 GND 和 5V 分别连接到电机驱动板电源引脚 - 和 + 上。![]()
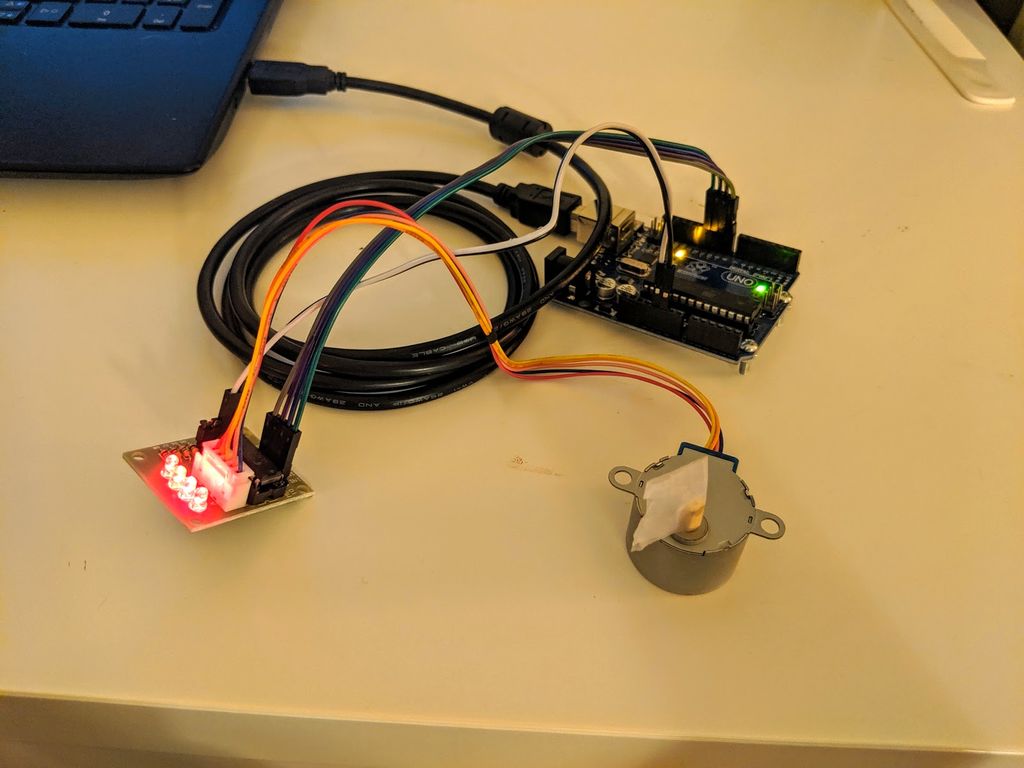
4、将 Arduino USB 端口连接到计算机并启动 Arduino IDE 软件。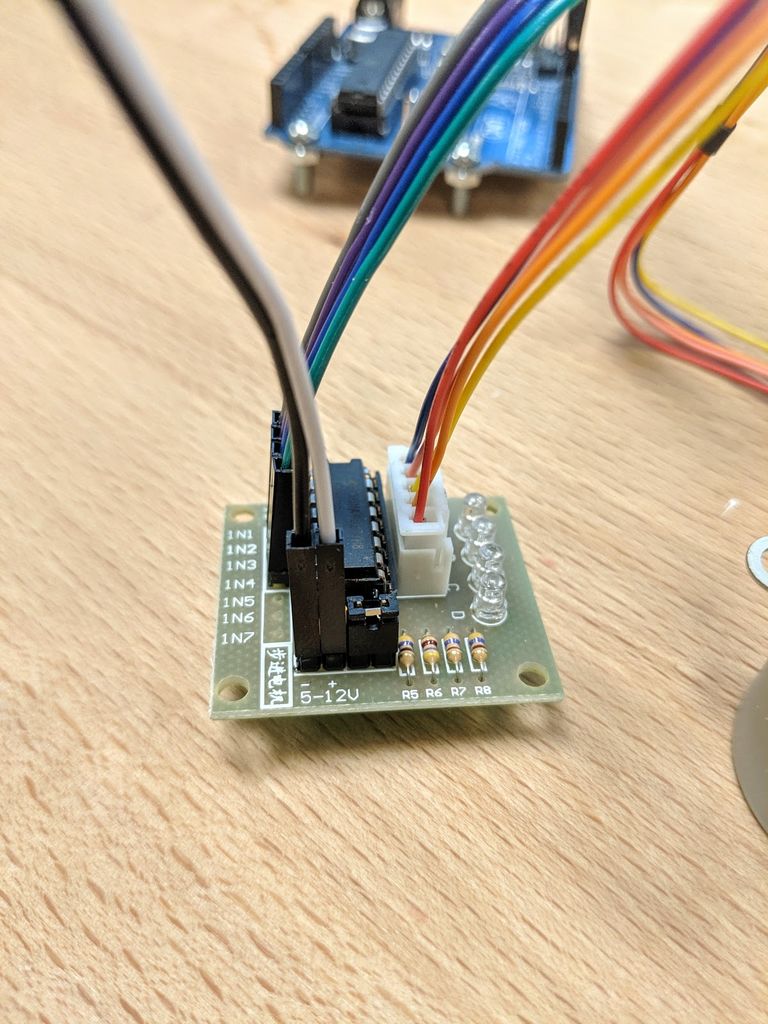
喂鱼机主体部分
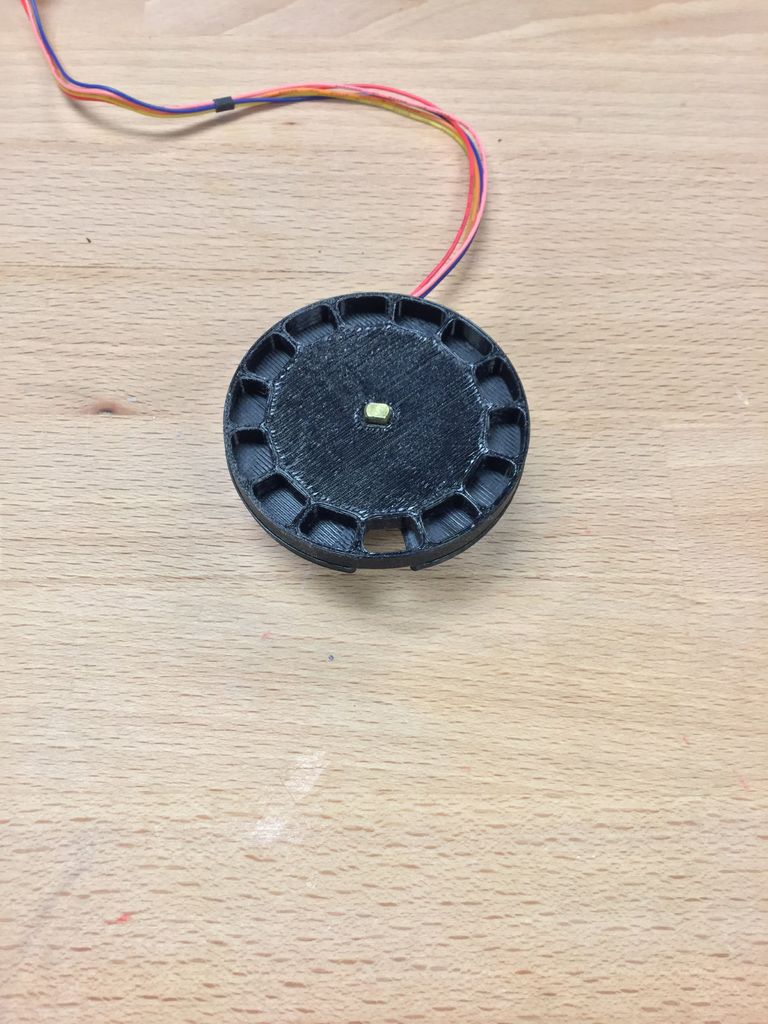
用 Autodesk Inventor 设计打印出两个 3D 附件,分别为 FF_Turn_Table.STL 格子转盘和 FF_plate.STL 喂食机底板。
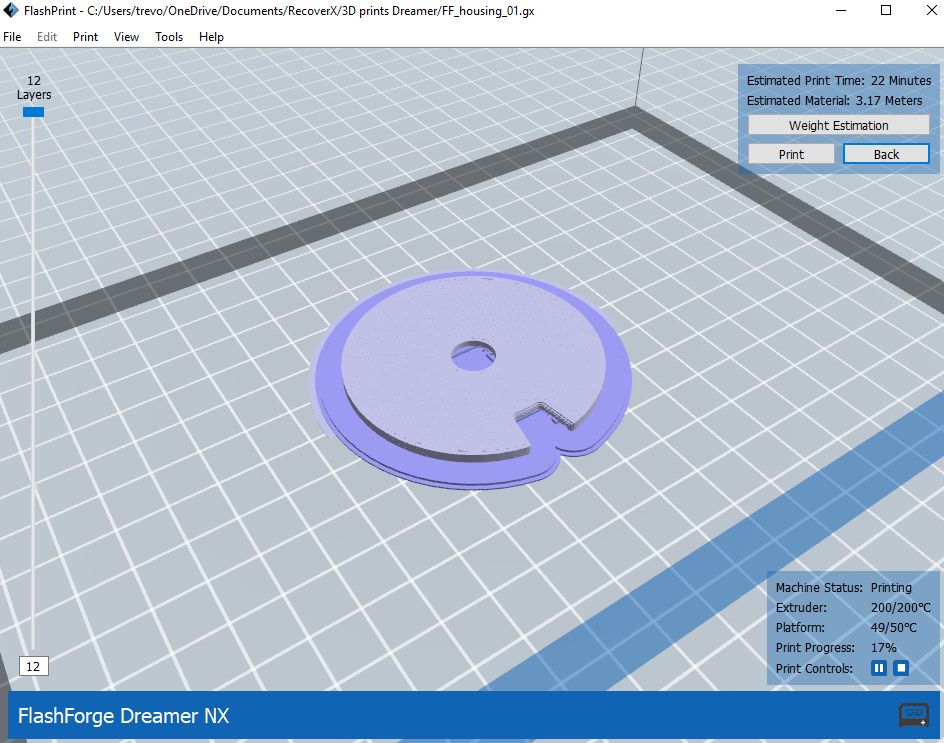
格子转盘带有 14 个鱼丸的凹槽,可以满足每天两次投喂并持续一周。电机驱动喂食机底板旋转时向前推动鱼食到板上的孔中。工作原理与口香糖球机类似。
当然,你可以用这个软件设计出任何其他结构的鱼饲料槽。
已经设计好的 3D 打印模型文件,请在项目文件库中下载:
https://make.quwj.com/project/128
编程
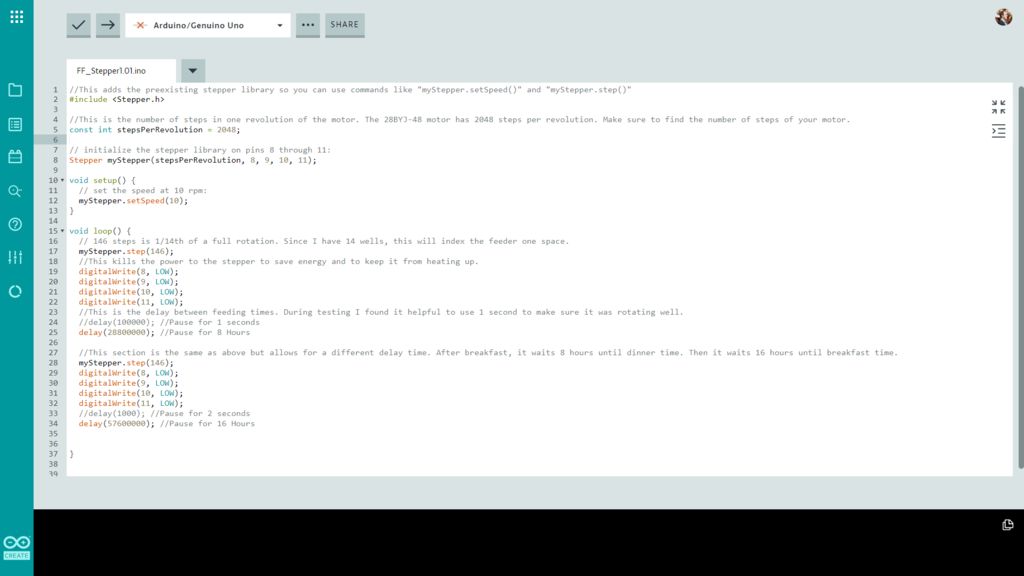
使用 Arduino stepper.h 库编程,让步进机的驱动格子转盘旋转进行投食。代码详情具体如下:
//This adds the preexisting stepper library so you can use commands like "myStepper.setSpeed()" and "myStepper.step()"
#include <Stepper.h>

//This is the number of steps in one revolution of the motor. The 28BYJ-48 motor has 2048 steps per revolution. Make sure to find the number of steps of your motor.
const int stepsPerRevolution = 2048;

// initialize the stepper library on pins 8 through 11:
Stepper myStepper(stepsPerRevolution, 8, 9, 10, 11);

void setup() {
  // set the speed at 10 rpm:
  myStepper.setSpeed(10);
}

void loop() {
  // 146 steps is 1/14th of a full rotation. Since I have 14 wells, this will index the feeder one space.
  myStepper.step(146);
  //This kills the power to the stepper to save energy and to keep it from heating up.
  digitalWrite(8, LOW);
  digitalWrite(9, LOW);
  digitalWrite(10, LOW);
  digitalWrite(11, LOW);
  //This is the delay between feeding times. During testing I found it helpful to use 1 second to make sure it was rotating well.
  //delay(1000); //Pause for 1 seconds
  delay(28800000); //Pause for 8 Hours

  //This section is the same as above but allows for a different delay time. After breakfast, it waits 8 hours until dinner time. Then it waits 16 hours until breakfast time.
  myStepper.step(146);
  digitalWrite(8, LOW);
  digitalWrite(9, LOW);
  digitalWrite(10, LOW);
  digitalWrite(11, LOW);
  //delay(1000); //Pause for 1 seconds
  delay(57600000); //Pause for 16 Hours


}
如果步进机运转不顺畅,请检查 8-11 上的连线是否正确。这个地方很容易出错。
如果有一秒的延迟,建议排除一下步进机的问题。
代码文件在项目文件库中提供下载:
https://make.quwj.com/project/128
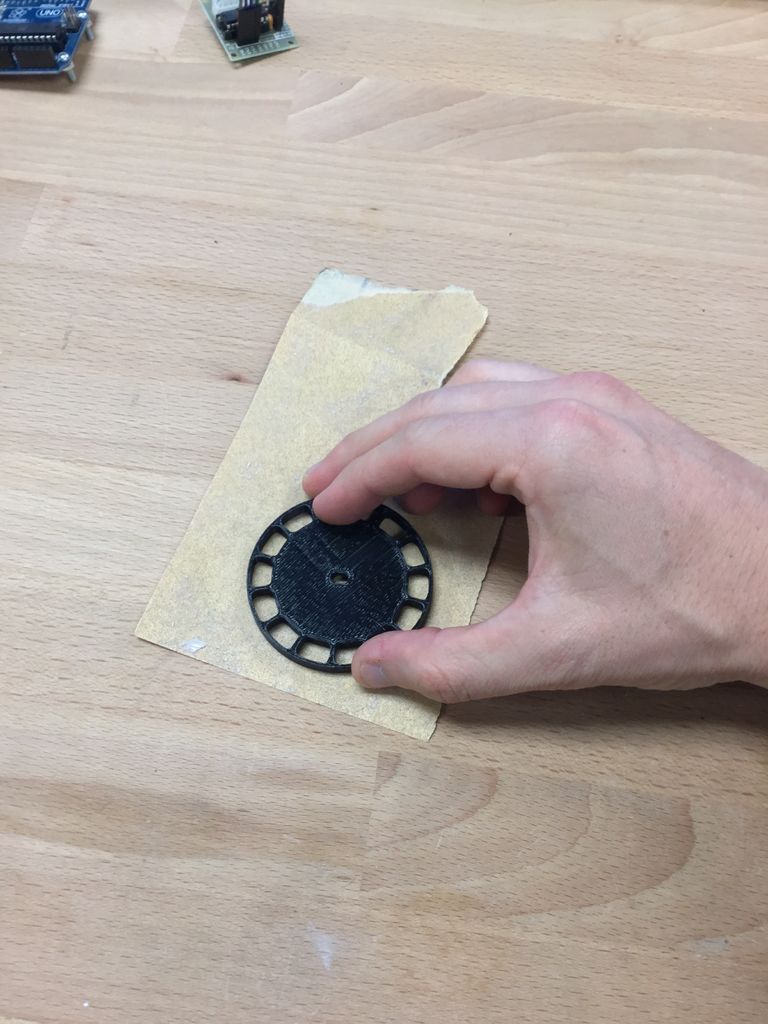
组装固定
组装前需要手工打磨一下 3D 打印部件,以便运行更加丝滑。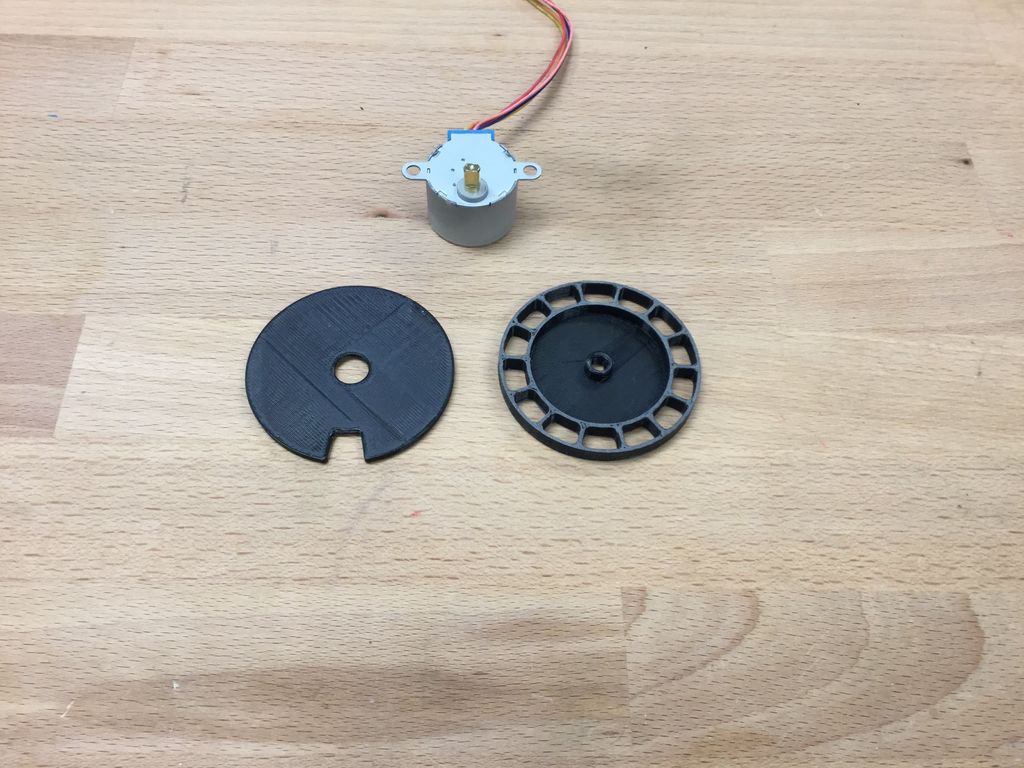
1、使用少量热熔胶将喂食机底板固定在步进机的表面,使用 3M 泡沫双面胶也是不错的选择。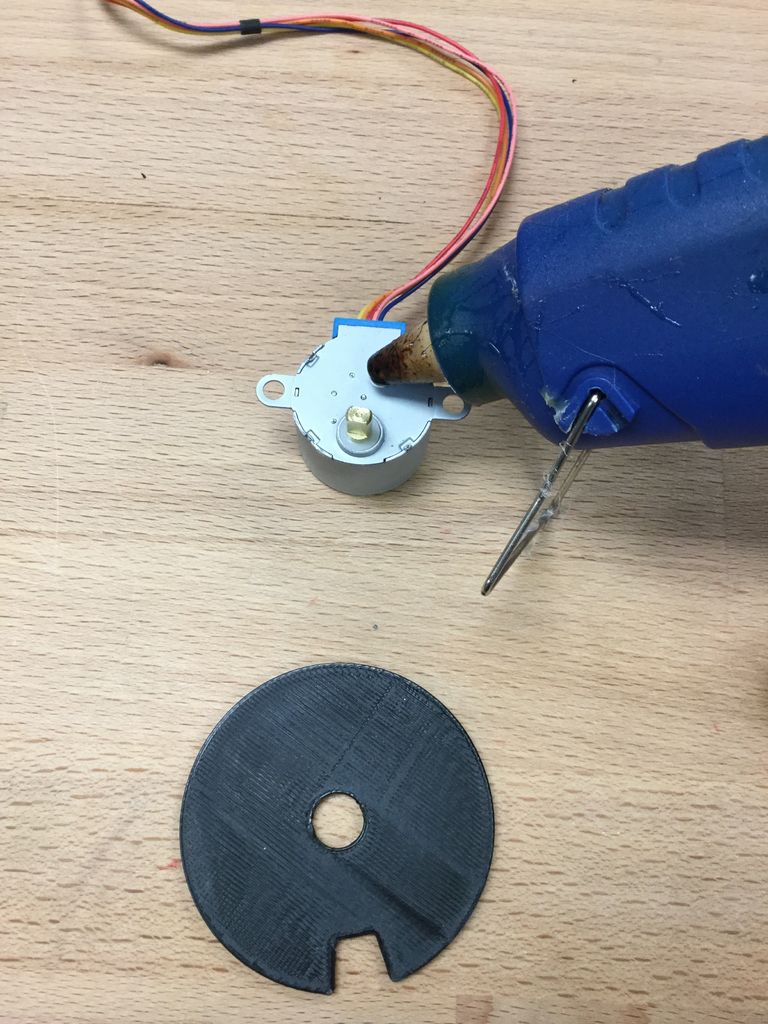
2、将喂食机底板安装到步进机的轴上。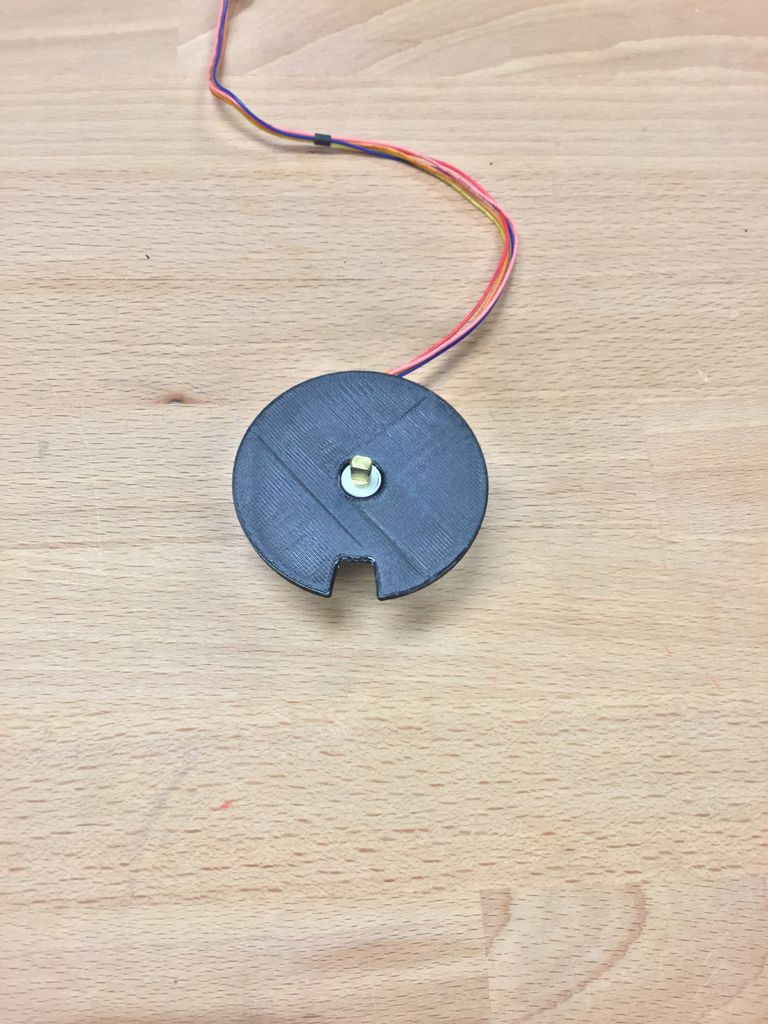
3、多转动一下喂食机底板,确保格子转盘和喂食机底板能够顺滑地运行。调整好喂食机底板和格子转盘之间的间隙,以免旋转时和喂食机底板产生过大的摩擦而卡壳。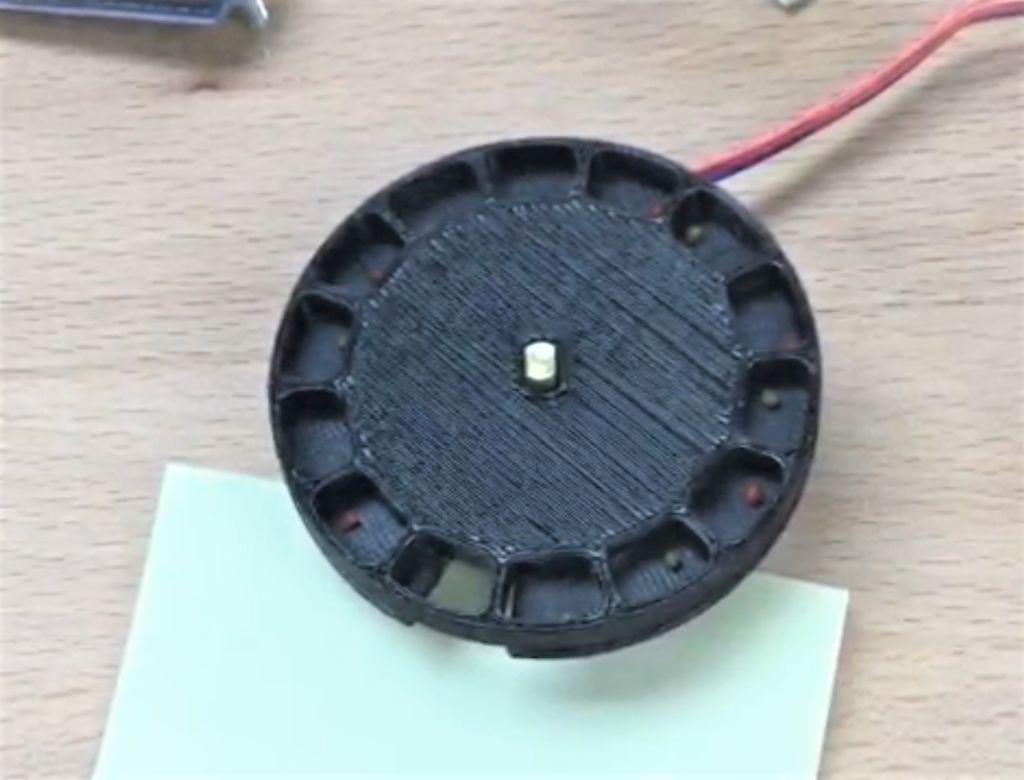
4、放入鱼食并尝试投放。
连接所有部件
用热熔胶将 Arduino、电机驱动板和喂鱼机连接到鱼缸上。使用 USB 线给 Arduino 供电。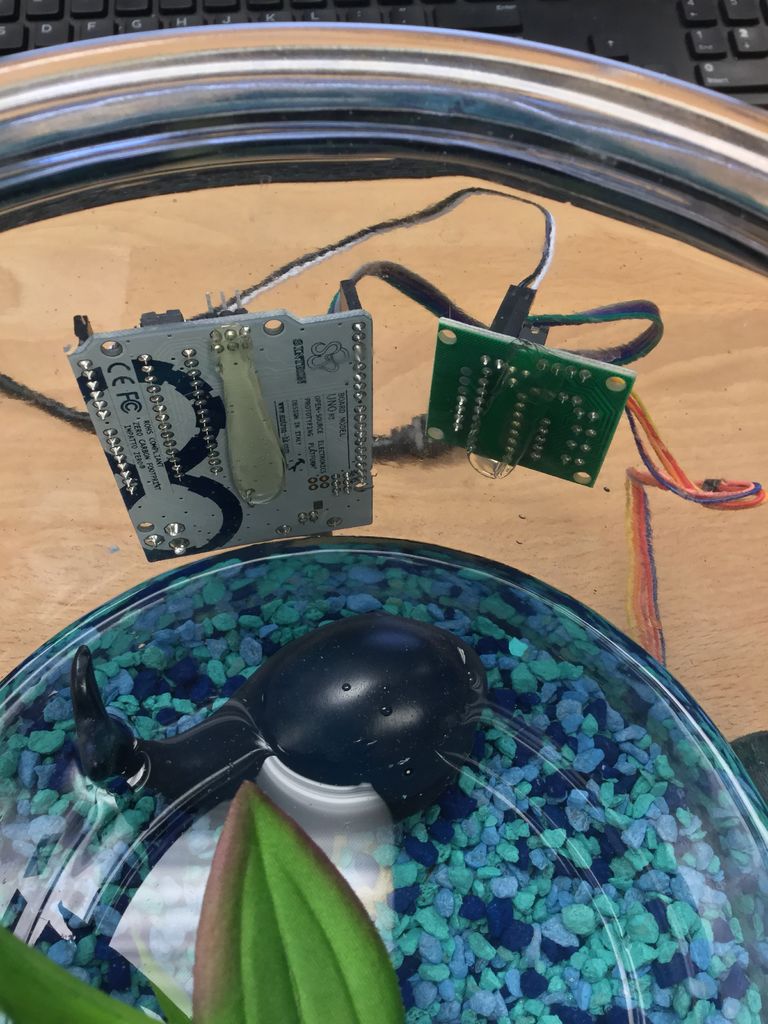
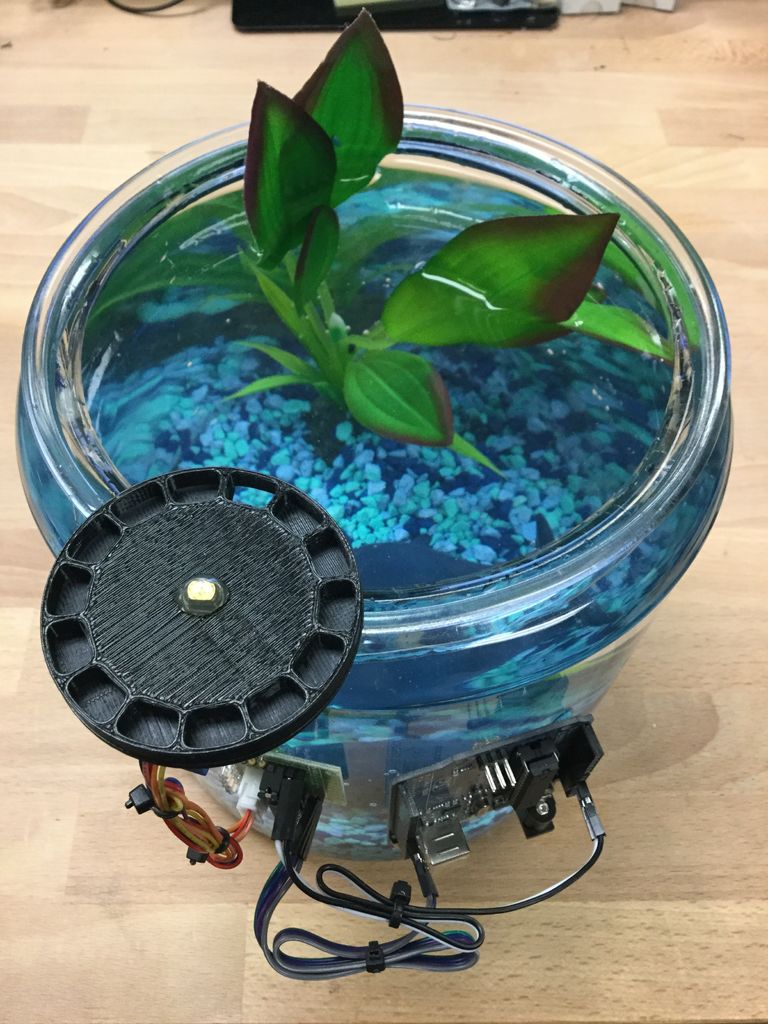
组装完成!
> 3D打印的自动喂鱼机
组件清单
- Arduino UNO × 1
- Arduino 电源 × 1
- 电机驱动板 × 1
- 步进电机 28BYJ-48 × 1
- 3D打印部件 × 1
- 热熔胶 × 1
- 鱼缸 × 1
- 鱼食料 × 1